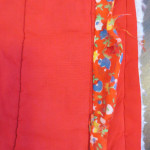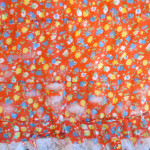

Have I mentioned that I agreed to repair a quilt for a Facebook friend? Her grandmother made it for her when Sarah was a child. It has been loved to shreds and the binding and edges were almost completely worn off. At first I thought I could put a new binding on it and Sarah would appliqué the holes in the back but when I got it home it seemed silly to put that much time into the binding and still not have it finished. Sarah agreed so we decided on a backing fabric; it has been sitting on the edge of my table for weeks and I decided it was time to get at it.
I took all my equipment downstairs so I could sandwich and pin on the kitchen floor which is about the only surface that is large enough for the task. For some reason the tape I use to tape the backing to the floor wasn’t sticking. I thought maybe the floor wasn’t clean (although it had been steam cleaned recently) so I thought I’d try a new method for pinning. I’ve seen a similar method demonstrated, but I recently read about a simpler method in one of the blogs I follow. Since the “old” quilt was going to stay intact and I was just adding a new backing I figured I’d never get the top pinned without a few puckers anyway so it was worth trying this method with this project.


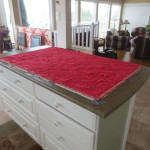
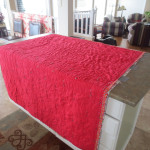
I laid out the backing on the kitchen island and taped it on three sides; note the gaffer tape I used because my tape problem was with the almost-finished roll of painter’s tape, not my floor. Once the first half was pinned I removed the tape and slid the rest of the quilt onto the island, taped two sides (because my backing was longer than it needed to be), and started pinning again. With this portion I pulled the backing tight on the end that wasn’t taped down and pinned it first. The rest of the pinning was just a repeat of the first set of pins.
The quilting on the original quilt was somewhat-straight lines from top to bottom without any cross lines. The quilting lines may have been an even width apart when the quilt was first made, but they certainly weren’t now. I decided to completely ignore the initial quilting and see what I could come up with.
I’ve stabilized the quilt with a six-inch grid. I think I’ll continue with straight lines on a three-inch grid both up and down and side to side. There are some puckers on the quilt where grandma’s quilting lines aren’t pulled as tightly but I’m going to call them “grandma’s kisses” and I’ll probably get away with it. The back looks good so I think the sandwiching method works.
I’ll try this sandwiching method again on my next project because it sure is easier on my back and knees.