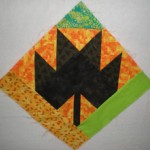
Round 3 of the exchange was a bit more challenging. Somehow along the way the notebook explaining the intentions of the originator was misplaced so there was no direction provided. After some queries the notebook was located – on the desk of the originator!

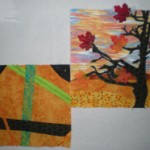
When I saw what had been added to the box I was overwhelmed with the artistry of their blocks. Clearly I was going to have to stretch myself a bit on this tin.
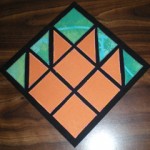
I searched the Internet for maple leaf blocks and found a photo of one as a stained glass piece. There wasn’t any pattern, but I recalled that years ago (before I even started quilting) I picked up a book on stained glass quilting. When I looked at the method described in the book I convinced myself that I could do it. I found the basic maple leaf pattern in my book of potholders, but I had to play with the sizes a bit. I used crayons and paper to make a paper copy of what I hoped to put together.

Once I started on the fabric block I was amazed at how quickly it came together.